A few weeks ago, Microsoft announced the availability of Skype for Business 2019 server preview for download and I thought it was about time I checked it out!
Obtaining the installation media
You can obtain the installation media (a 1.68GB ISO file) from here: https://techcommunity.microsoft.com/t5/Skype-for-Business-Blog/Announcing-the-Skype-for-Business-Server-2019-Preview/ba-p/218435
Easy!
The Lab
I’m running everything up at Windows Azure, but by all means feel free to spin up a new VM in your on premises lab if you have one.
My lab is pretty simple, and is setup as follows:
| Server | Role | Notes |
| DC01.chiffers.com | Domain Controller | All servers are running Azure’s Windows 2016 base image. |
| SFB01.chiffers.com | Skype for Business Standard Edition Server | |
| CS01.chiffers.com | AD Certificate Services |
You’ll notice that for now, I’ve chosen to not deploy an Edge server, or Monitoring and Archiving databases.
Prerequisites
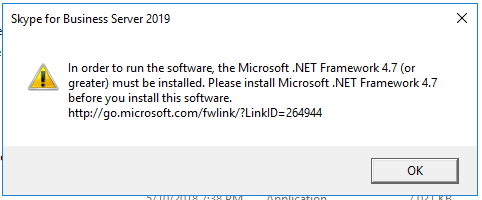
Skype for Business server 2019 still requires a whole range of prerequisites to be installed, including .Net Framework 4.7
To speed things up, you can install almost all of the required features via powershell:
Add-WindowsFeature NET-Framework-Core, RSAT-ADDS, Windows-Identity-Foundation, Web-Server, Web-Static-Content, Web-Default-Doc, Web-Http-Errors, Web-Dir-Browsing, Web-Asp-Net, Web-Net-Ext, Web-ISAPI-Ext, Web-ISAPI-Filter, Web-Http-Logging, Web-Log-Libraries, Web-Request-Monitor, Web-Http-Tracing, Web-Basic-Auth, Web-Windows-Auth, Web-Client-Auth, Web-Filtering, Web-Stat-Compression, Web-Dyn-Compression, NET-WCF-HTTP-Activation45, Web-Asp-Net45, Web-Mgmt-Tools, Web-Scripting-Tools, Web-Mgmt-Compat, Server-Media-Foundation, BITS, Telnet-Client
(I removed Desktop-Experience from the above command).
Grab a copy of .Net Framework 4.7 from the Microsoft Download Centre if you don’t already have it installed.
A big thanks to Tom Arbuthnot who’s article outlines Microsoft’s recommended server requirements for running Skype for Business Server 2019 too.
Running the installer
The ISO contains a folder called OCS_EVAL (ah, memories). Within there we’ll find the setup.exe file we’re looking for.

After a quick Visual Studio Runtime install, we’re prompted for an installation location:
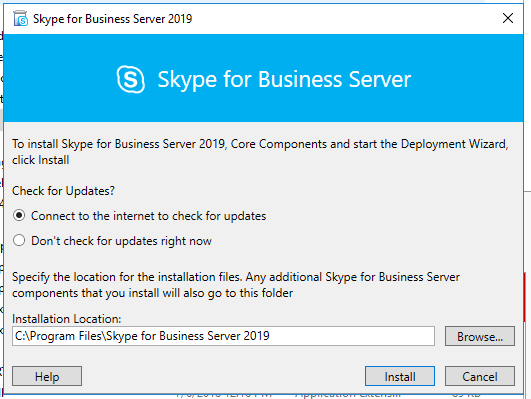
I allowed the installer to check for updates, but none were found

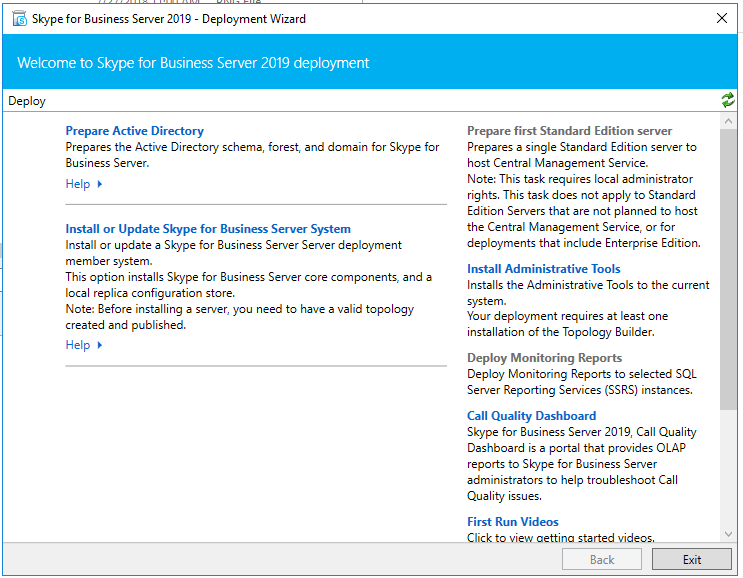
After clicking Next, the familiar looking deployment wizard appears
Prepping Active Directory
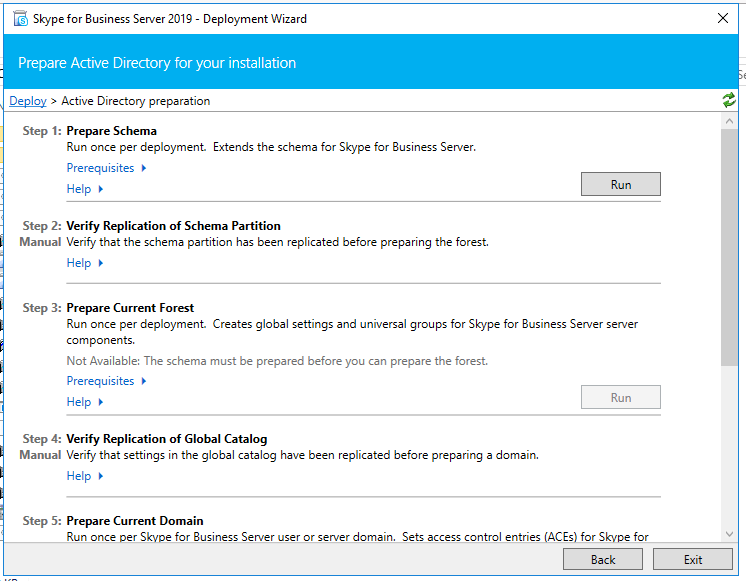
Alright, as this is a completely new lab environment that hasn’t had any version of Lync or Skype for Business installed, I’m going to need to extend the AD schema.
It’s just as easy as it was in previous versions, running through each of the 7 steps.
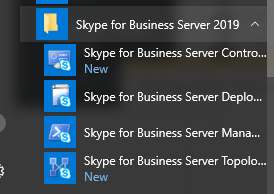
Installing the Administration Tools
Alright, green tick! Let’s move on to installing the Administration Tools, including the topology builder.
Once that’s complete, We can prepare the first (or in my case, the only) Standard Edition server. The option to install Enterprise Pools is still available, but as this is a lab I’m going to stick with a Standard Edition pool for now.

Note that it would appear that SQL Express 2014 is still automatically installed during the Standard Edition component installation process.
Creating the Topology
Once SQL is installed, you can fire up the 2019 Topology Builder and create a new topology. Keep in mind of course that unless you’re spinning up a brand new lab environment like me, you’re probably going to be opening up an existing SfB topology.

As this is a new topology, I’m going to enter a new SIP domain. Chiffers.com sounds pretty good!

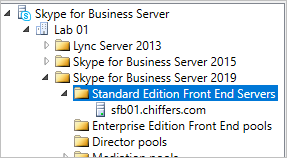
After completing the usual process of creating my first site (I’m calling mine Lab 01), my new topology appears – complete with the new Skype for Business Server 2019 folder.

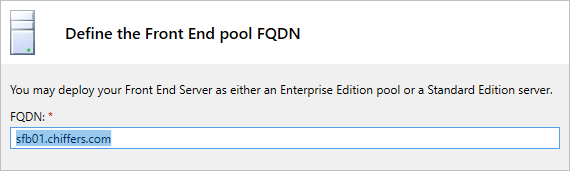
Let’s create our new Standard Edition front end pool – named sfb01.chiffers.com
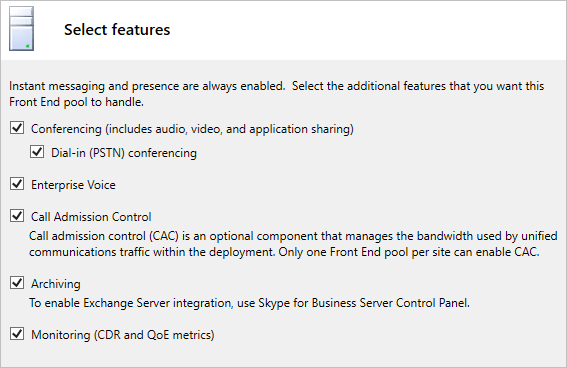
I’m going to enable all available features for this pool (although I don’t have an Exchange server right now!)
And, of course we can still co-locate our Mediation services on the Front End server.

The wizard still prompts me for the usual Edge Server, Office Web Apps, Monitoring and Archiving details (If I want to deploy these too). Once complete, my server appears under the Skype for Business Server 2019 folder.
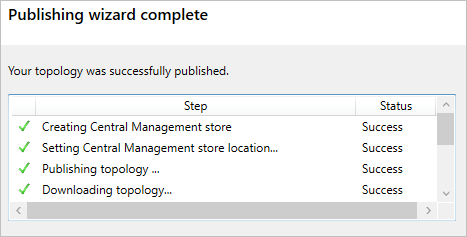
Publishing the Topology
Ok, time to publish the topology! This took less than 60 seconds.
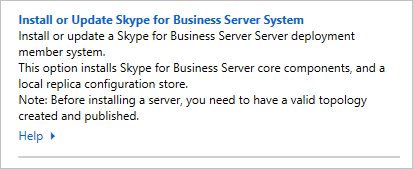
Installing the Skype for Business 2019 Components
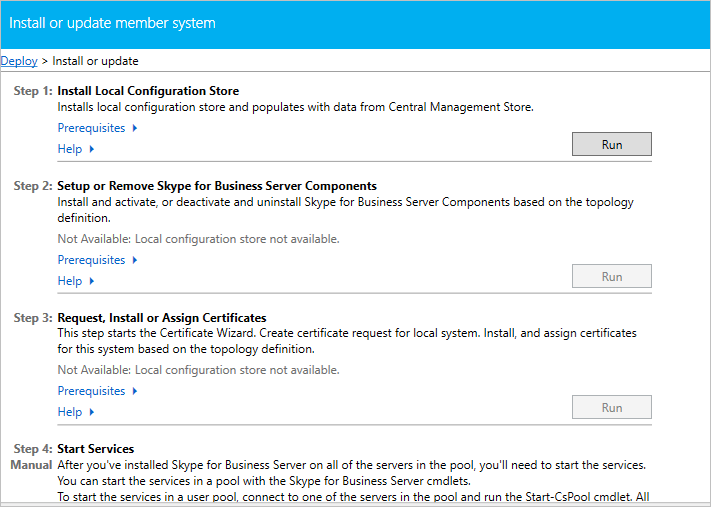
Now for the best bit. We get to deploy the SfB 2019 components to our Standard Edition Server.
There’s 4 steps in total to work through. My lab isn’t running super powerful VM’s and so this part took a while
Starting the Pool
Once the components are installed and certificates assigned, it’s time to start the pool!

Boom! the Skype For Business 2019 pool is up and running.
Stay tuned for part 2, where we’ll delve into the Control Panel and see what’s changed since SfB 2015.

 from here: https://techcommunity.microsoft.com/t5/Skype-for-Business-Blog/Announcing-the-Skype-for-Business-Server-2019-Preview/ba-p/218435 Easy! The Lab I’m running everything up at Windows Azure, […]&media=https://blog.chiffers.com/wp-content/uploads/2018/04/sfb_logo.png)