If you’ve visited a restaurant, bar, café or other public place recently you’ve probably been asked to scan a QR code or complete a paper-based sign in sheet with your name, mobile and email address.
I’ve had a number of people ask me what app i’d recommend to use to capture this information. There’s many different options available today – some free, and some paid options, I’d recommend using Microsoft Forms
Let’s show you how easy it is to build your very own form to collect visitors information!
What is Microsoft Forms?
You’ve probably heard of survey monkey? Forms is Microsoft’s version of an online survey/form creation tool – and best of all, it’s free!
The tool allows you to easily create surveys, quizzes and polls, and then with one click, export that data into Excel to be analyzed.
Building the Form
To start using forms, all you’ll need is a Microsoft account. If you use any Microsoft services (Office 365, Xbox, Hotmail etc), you’ll have a Microsoft account. Of course, you can always create a new account.
- To get started, browse to forms.microsoft.com
- Click Get Started
- Sign in using your Microsoft Account
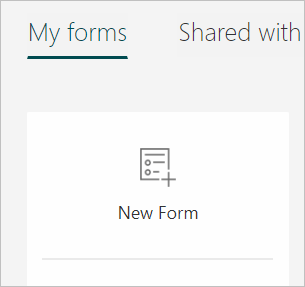
- Click New Form under My Forms to create a new form
- Give your form a name. This will appear at the top of the form in large text.
You can also add a description here too. The description will appear below the form name in smaller text.
Don’t worry about getting these perfect now, you can always edit them later on!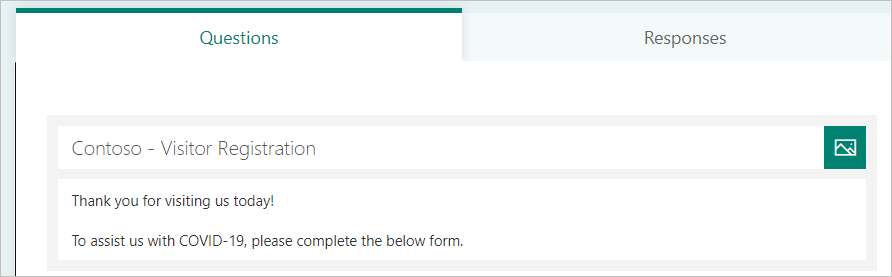
You have the option to add a photo as the title instead too, if you wish. Just click the Photo button on the right of the form name field. - When you’re happy with your form name and description, click Add New to add a question to your form
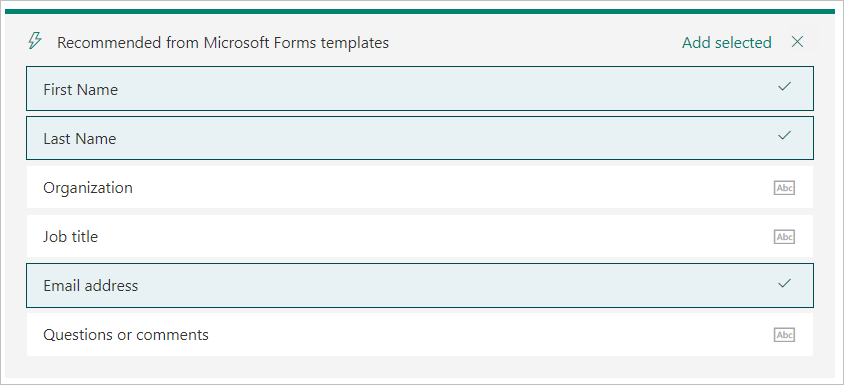
- Forms is pretty smart. It’ll recommend certain fields to automatically add. Select First Name, Last Name, and Email Address and click Add selected
- I also want to capture the visitors phone number, so let’s add a form item for this.
Click Add New
Select Text
Give the question a title: Phone Number
Check the box marked Required to ensure the form filler completes this field.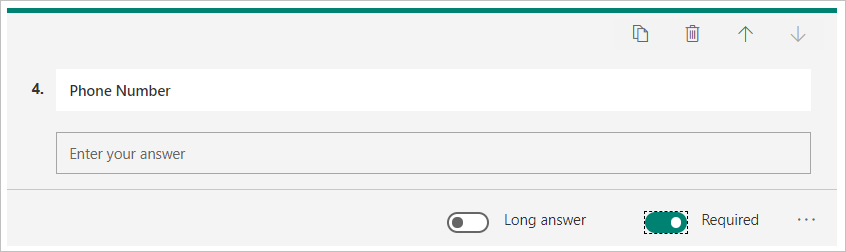
- Click anywhere outside the box to save the changes.
Alright – our form is built! Now we need to share it so our visitors can complete it.
Sharing the form
To share the form
- Click the Share button in the top right corner of the form

- You’ll be presented with a few different options.
By default, Forms will require visitors to authenticate before they fill out the form. That’s not an ideal scenario for our use case so lets change this.
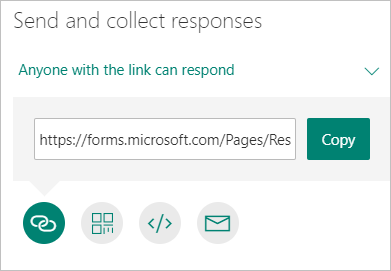
Click Only people in my organisation can respond to drop the selection box, then select Anyone with the link can respond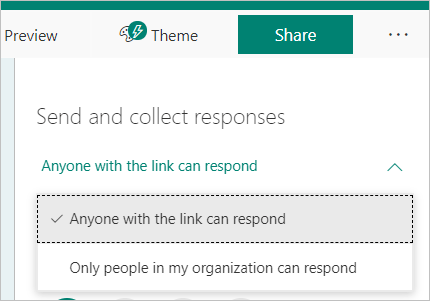
- Now we need to generate a link that our visitors will browse to so that they can complete the form from their own mobile device.
One of the cool things that’s built into forms is the ability to generate QR Codes that your visitors can scan with their mobile phone.
Generating one is as easy as clicking the QR Code button: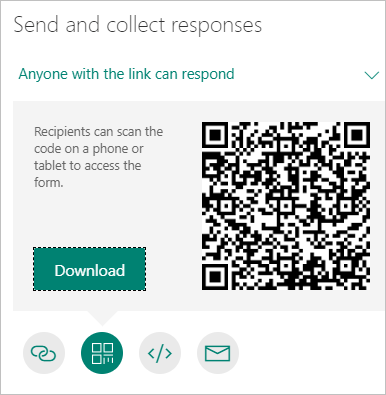
You can download the generated QR Code and insert it into a Word document to create your signage.
Of course, not everyone has a phone capable of scanning QR Codes and so giving a link that your visitors can browse to is a good idea too.
By default, Forms will generate a link you can use, but it’s certainly not something you’d want anyone to have to type into their phone manually.
Here’s an example link from my form:
https://forms.microsoft.com/Pages/ResponsePage.aspx?id=FncoQzdAf0yP62Cft-2LKZXjiBizvTBMvIWGXtNHOkRUOVNCTDhJRTZMUkVaTkRYQ1VNRkw0UTM0Ry4u
Instead, consider using a free URL shortener service like Bit.ly that will create a far easier link for your visitors to enter into their phone. - First, generate the link by clicking the Link button. Click Copy to copy the link to your clipboard
- Open your favourite URL shortening service (i’m using Bit.ly), paste the link to generate the short URL.
- Copy the new shortened URL into your Word document
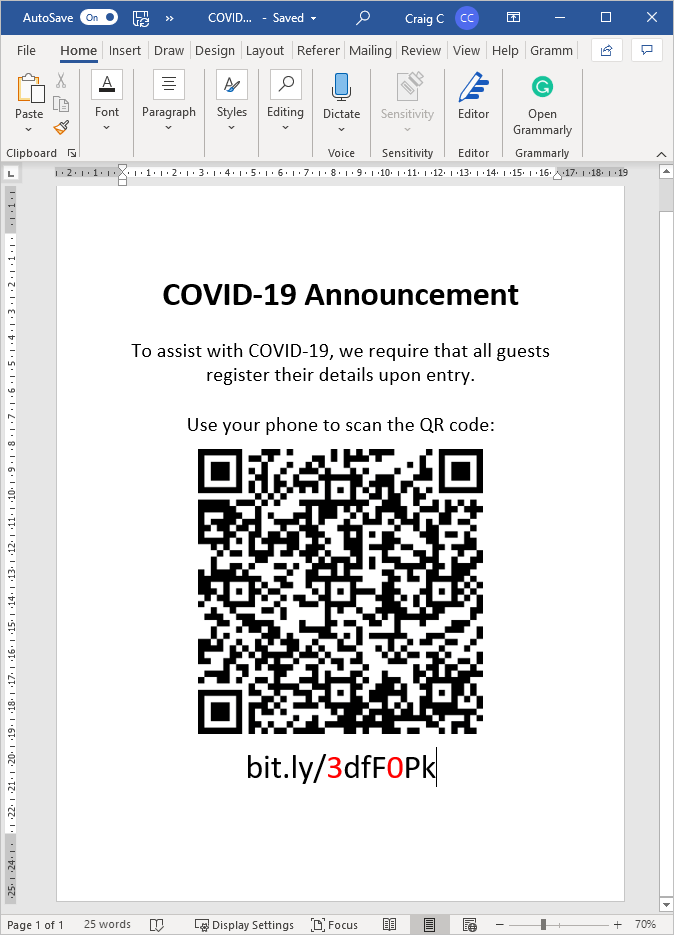
A little tip: I like to change the text of numbers to red to ensure people don’t mix up O’s with 0’s.
Using the form
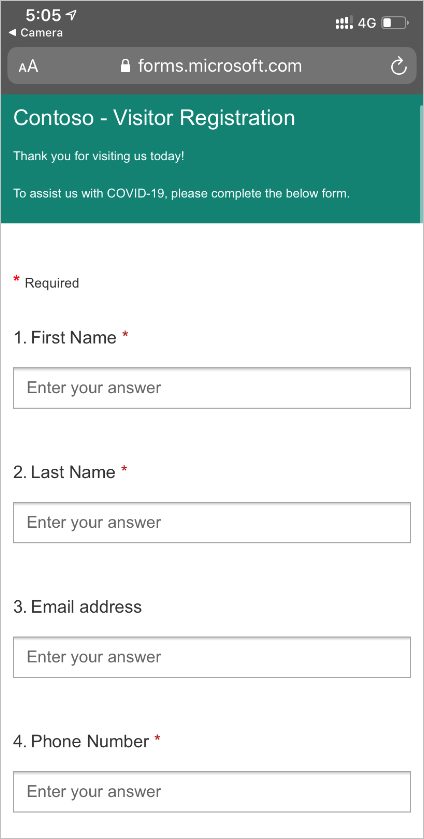
To fill out the form, visitors simply open the camera app on their mobile and scan the QR code, or enter the shortened URL.
Forms automatically formats the form to fit the end users device, so your form will look good regardless of whether its viewed on a mobile, tablet or desktop.
You’ll note too that although I haven’t included fields for today’s date, or the current time, Forms automatically captures this information for every submission.
Reviewing collected information
Collecting the information is all good, but how about accessing that data?
Fortunately, Forms makes it super simple to review and export the responses.
To review and export all collected information:
- Open the form from the My Forms page
- Click Responses

- Forms will display all answers to each question in an easy to read format.
If you’d like to export this into Excel format, click Open in Excel
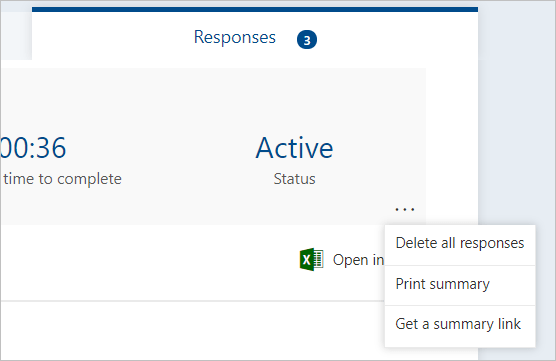
- You can also create a shareable link to the summary of the results to share with others by clicking the 3 dots, then Get a summary link
A few other settings
Forms offers a level of customisation should you wish to change the look and feel of the form.
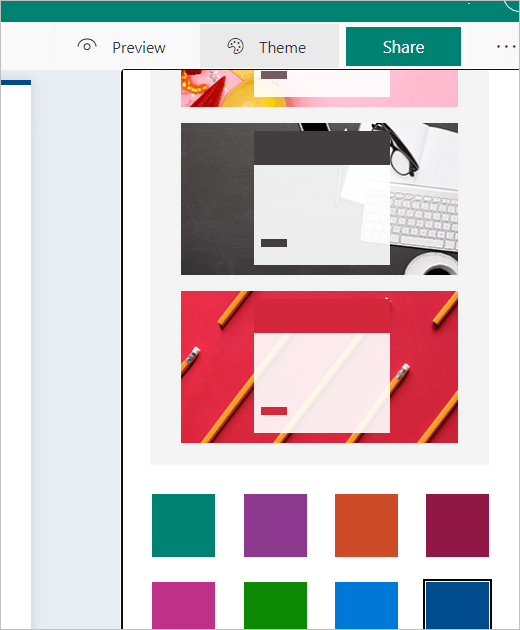
To change the theme, click the Theme button on the toolbar within the form
You can also set a customised Thank you message that is displayed after submitting the form. To do this, click the 3 dots in the top right of the form and select Settings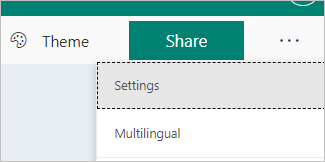
A number of different settings are changeable, including the customised thank you message.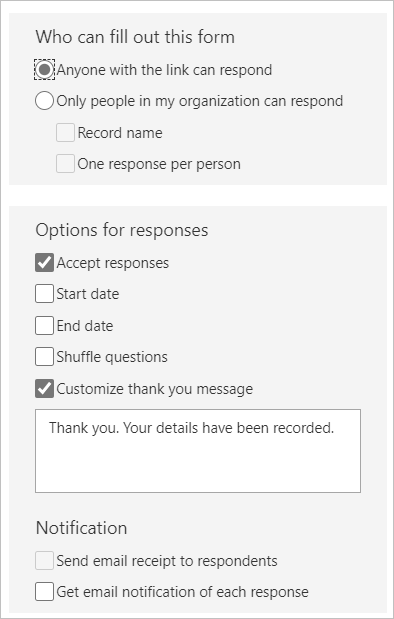
Final Thoughts
Forms is a great tool for creating simple, but powerful workflows within your organisation.
If you’d like to find out more about what you could achieve using Forms and Power Automate, check out some of the templates available today
What cool things are you doing with forms?
